Configure Bank Statement Import through Data Exchange Definition Part 3
Greetings, Readers,
I have previously published two blogs on this particular topic, and this blog serves as the third installment. Before proceeding, I encourage you to read the first and second parts. Here are the links to my previous blogs:
Part 1: Configure Bank Statement Import through Data Exchange Definition Part 1 (dhirennagar.blogspot.com)
Part 2: Configure Bank Statement Import through Data Exchange Definition Part 2 (dhirennagar.blogspot.com)
In this blog post, we will look into the process of configuring a Bank Statement that includes the symbols "Dr" and "Cr" instead of separate columns for Debit and Credit amounts. The screenshot below illustrates a Bank Statement that requires configuration for import:

Firstly, we need to create a Data Exchange Definition for this purpose. Navigate to the Data Exchange Definition page and select "New." In my previous blogs, I have already provided an explanation on how to create a Data Exchange Definition. The specific details for this case are as follows:

Next, we need to configure the column setup. To achieve this, we must define Line Definitions and Column Definitions. Since our file consists of 5 columns with Date, Particulars, Amount, Dr/Cr, and Balance, the setup will be as follows. It's important to note that for the Dr/Cr column, we need to specify a Negative-sign Identifier. This identifier indicates the text value in the file that signifies the amount should be considered negative. In our case, the value "Cr" indicates a negative amount, so we specify "Cr" as the Negative-sign Identifier.

Now, proceed to specify the field mapping for all the columns. In my previous blog, I outlined the steps for this process. The only difference here is that we will map the Dr/Cr column as the Statement amount. We do this to instruct the system to change the sign of the Amount field based on the value in the Dr/Cr column and the Negative-sign Identifier specified in the Column setup.

Your Data Exchange Definition is now ready. Configure it in the Bank Export/Import setup and assign it to the relevant Bank Account following the steps outlined in my previous blog post.
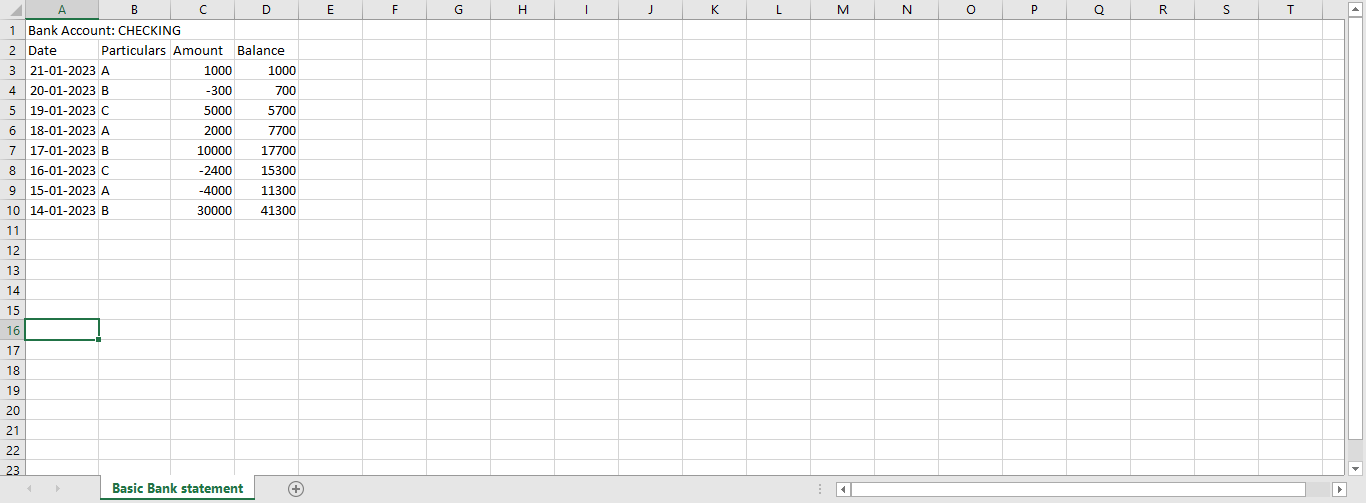
Congratulations! You have completed the setup process. Now, let's test it by importing the Bank Statement. The results can be seen in the image below:

These instructions cover the various types of Bank Statements typically encountered during BC implementations. If you come across any other complex Bank Statements, please let me know, and I will attempt to set them up in BC.
There is still more to explore regarding Data Exchange Definitions, particularly the Data Cleansing features. I will discuss these features in upcoming blog posts.
Until then, happy learning!

Do you have a solution for when a bank statement contains relevant information in 3-4 different columns that would be relevant to import. I'm not thinking concatenation. Instead there is a column containing 3-4 different transaction types. The intention is that based on the transaction type the information in a given column should be extracted to the description column in the bank account reconciliation.
ReplyDelete